A loud grinding or clicking noise coming from a Konica Minolta bizhub machine is a serious warning sign that should never be ignored. Unlike normal operating sounds such as paper movement, fan noise, or the soft hum of motors, grinding and clicking noises almost always indicate mechanical wear, broken drive components, misaligned gears, or obstructions somewhere inside the machine.
The noise may occur during startup, warm-up, printing, paper feeding, duplex operation, or shutdown. In some cases the sound appears suddenly after a paper jam, while in other situations it gradually becomes louder over time. Regardless of when it occurs, a grinding or clicking noise means that two components are no longer moving smoothly together.
If left unresolved, the affected part can fail completely and may cause additional damage to gears, motors, rollers, or drive assemblies. This guide explains the most common causes of grinding and clicking noises in Konica Minolta bizhub copiers and provides a systematic step-by-step diagnostic procedure to locate and repair the problem correctly.
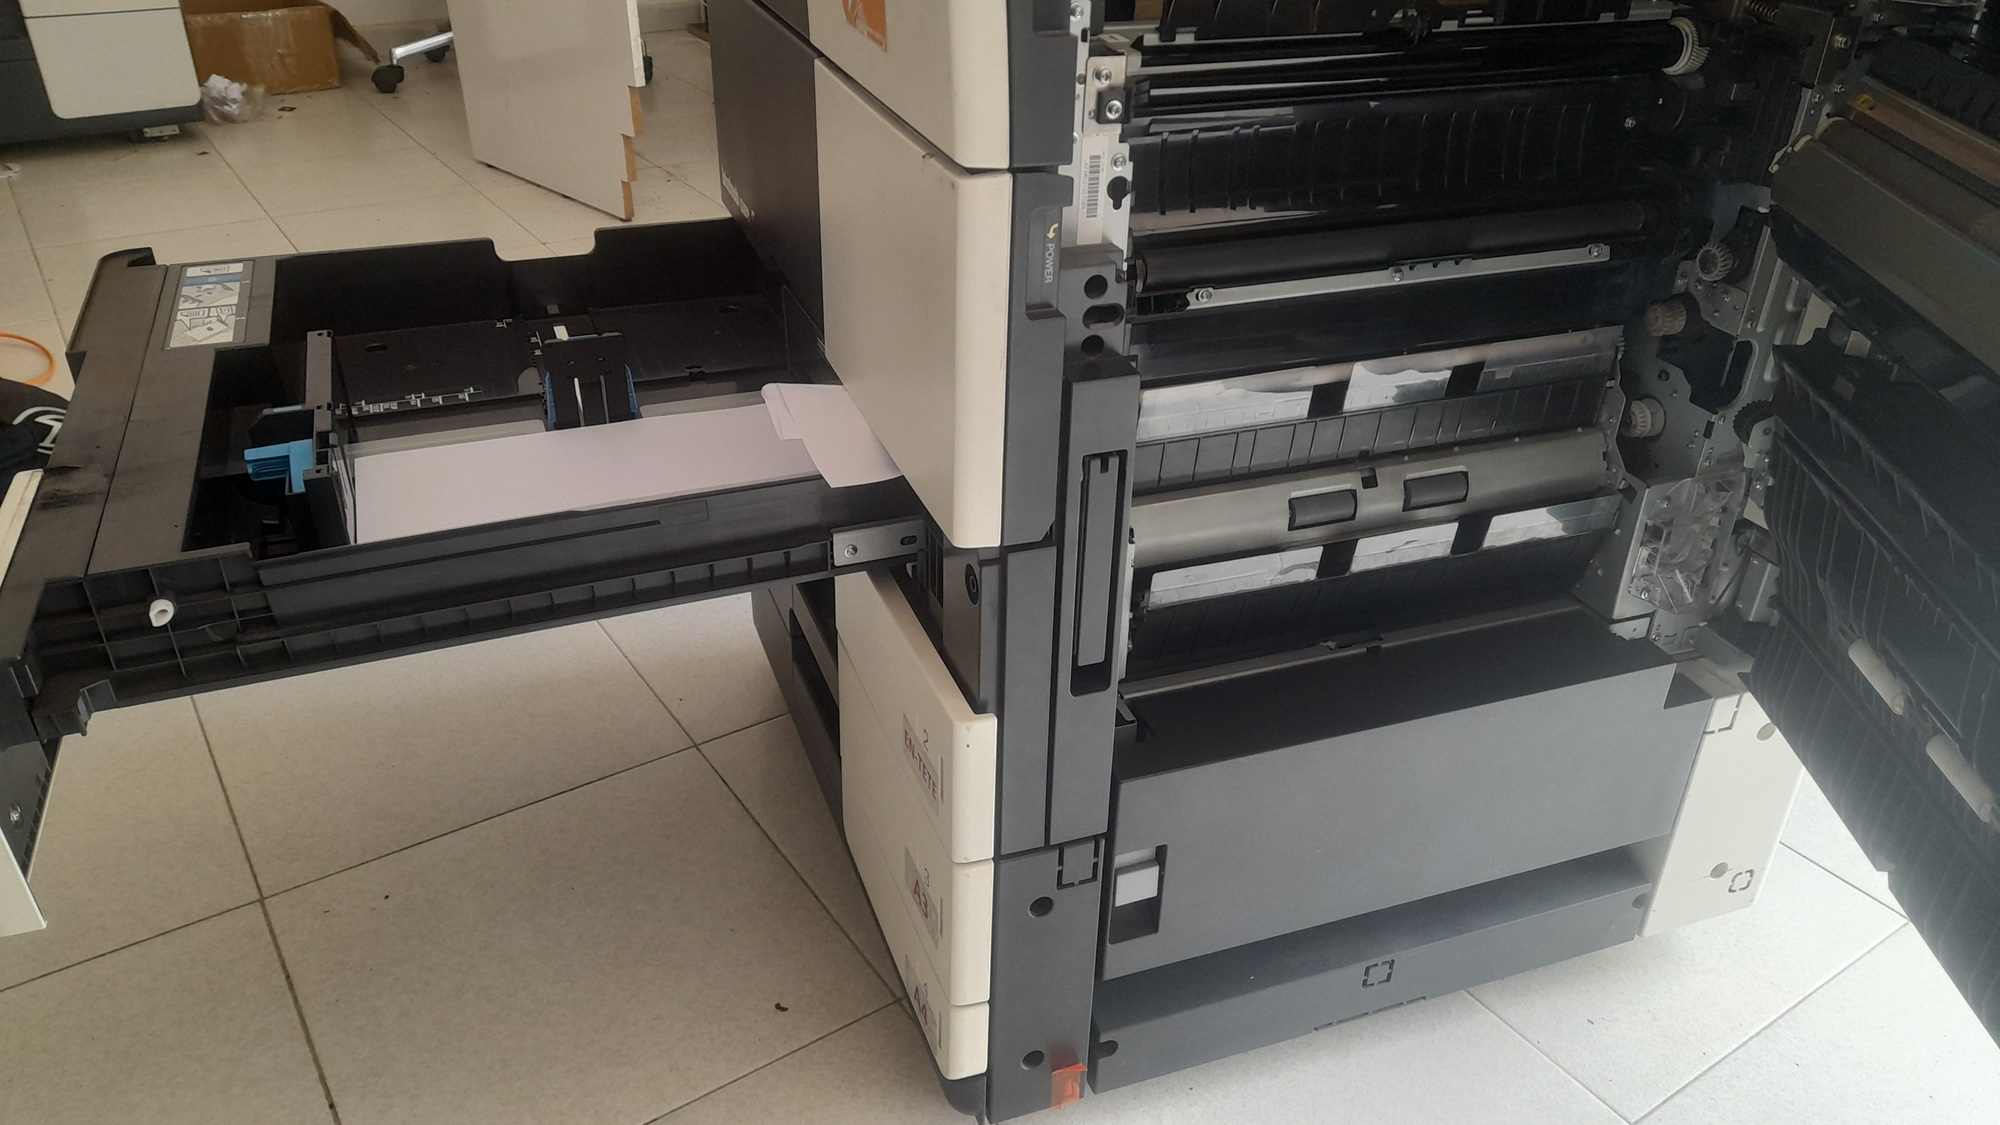
Understanding Grinding and Clicking Noises in Bizhub Machines
A Konica Minolta bizhub contains multiple drive systems operating simultaneously. Motors transfer rotational movement through gears, shafts, belts, rollers, and couplings. When one component becomes worn, damaged, loose, or obstructed, abnormal noises occur.
Grinding noises typically indicate:
- Worn or stripped gears
- Broken gear teeth
- Motor bearings failing
- Fuser drive resistance
- Foreign objects caught in gears
- Drive couplings slipping
Clicking noises typically indicate:
- Broken or cracked gears
- A gear tooth missing
- Paper path obstructions
- Actuators repeatedly engaging
- Solenoids cycling abnormally
- Damaged duplex drive assemblies
- Loose drive components
The exact timing and location of the noise are critical for identifying the faulty component.
Most Common Causes
- Broken or stripped drive gears
- Damaged fuser drive gear assembly
- Foreign object stuck in the drive train
- Failed fuser unit bearings
- Worn paper feed gears
- Duplex unit drive gear damage
- Loose gear retaining clips
- Worn or cracked swing gears
- Failed motor coupling
- Transfer belt drive resistance
- Damaged finisher gears
- Paper fragments stuck inside gear assemblies
- Worn exit roller gears
- Broken actuator arms
- Main drive motor failure
- Gear timing misalignment after improper reassembly
- Fuser pressure release mechanism failure
- Hard toner buildup on rotating assemblies
Step-by-Step Troubleshooting
Step 1 – Determine Exactly When the Noise Occurs
Before disassembling anything, carefully identify the exact operating condition that produces the noise. This is the most important diagnostic step.
- Noise during startup or warm-up only
- Often indicates a fuser drive problem
- May indicate main drive gear engagement issues
- Can indicate polygon motor or drive motor problems
- Noise only when paper feeds
- Usually caused by feed rollers or paper feed gears
- May indicate duplex drive issues
- Can indicate cassette pickup drive damage
- Noise during duplex printing only
- Strongly suggests duplex drive assembly problems
- Possible duplex rollers or reversing gear failure
- Noise continuously during printing
- Often caused by damaged drive gears
- May indicate transfer belt or fuser resistance
- Can indicate main drive motor overload
- Noise at regular intervals
- Usually corresponds to a rotating gear or roller
- A damaged gear tooth often clicks once per revolution
- Noise after a paper jam
- Often caused by broken gear teeth
- Possible paper fragments inside the drive assembly
- May indicate damaged actuator levers
Write down all observations before proceeding.
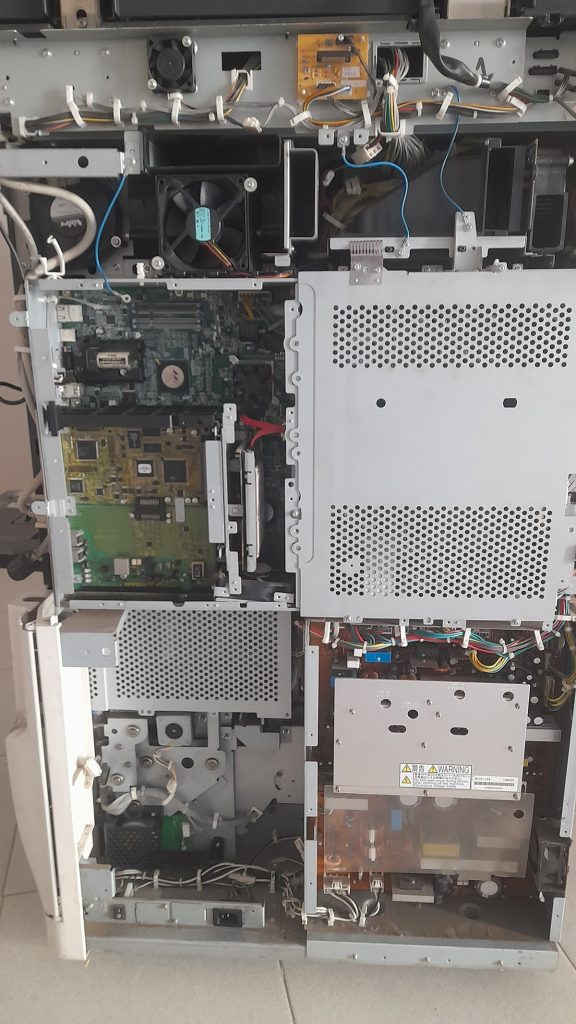
Step 2 – Check for Foreign Objects
A surprisingly large number of grinding noises are caused by small foreign objects trapped inside the machine.
- Power off the machine completely.
- Turn off the main power switch and unplug the power cord.
- Open all accessible covers.
- Inspect the paper path carefully using a flashlight.
- Look for:
- Torn paper fragments
- Staples
- Paper clips
- Label backing material
- Pieces of broken plastic
- Toner buildup
- Check around:
- Fuser entrance area
- Exit rollers
- Duplex path
- Transfer belt area
- Registration rollers
- Rear drive gears
- Remove all debris carefully.
- Reconnect power and test the machine.
If the noise disappears, the issue was caused by an obstruction. If the noise continues, proceed to the next step.
Step 3 – Inspect the Fuser Unit
The fuser is one of the most common sources of grinding and clicking noises in bizhub machines, especially on high-page-count devices.
Warning: The fuser becomes extremely hot during operation. Allow at least 30 minutes for cooling before handling.
- Power off and unplug the machine.
- Allow the fuser to cool completely.
- Remove the fuser unit following the service manual procedure.
- Rotate the fuser rollers manually.
- Check for:
- Resistance
- Grinding sensation
- Uneven rotation
- Clicking during rotation
- Loose bearings
- Inspect the fuser drive gears for:
- Broken teeth
- Cracks
- Gear wear
- Melted plastic
- Inspect the pressure release mechanism.
- Check for toner buildup around the gears.
- If gears are damaged, replace the affected gears or the complete fuser unit.
- If bearings are rough or noisy, replace the fuser assembly.
Fuser gear failure often produces a loud repetitive clicking sound that becomes worse under load.
Step 4 – Inspect the Main Drive Gear Assembly
The main drive assembly transfers power throughout the machine. Worn gears in this area commonly produce grinding noises.
- Remove the rear or side covers according to the service manual.
- Locate the main drive gear train.
- Rotate the gears slowly by hand.
- Inspect every gear carefully for:
- Broken teeth
- Hairline cracks
- Uneven wear
- Loose gears
- Gear wobble
- Improper alignment
- Check for hardened grease or lack of lubrication.
- Inspect swing gears carefully — these frequently crack under stress.
- Replace any damaged gear immediately.
Even a single broken gear tooth can create a loud clicking sound during every rotation cycle.
Step 5 – Inspect the Duplex Unit
If the noise only occurs during double-sided printing, the duplex unit is a major suspect.
- Open the duplex access area.
- Inspect duplex rollers and gears.
- Check for:
- Broken gear teeth
- Paper fragments
- Loose roller shafts
- Damaged reversing assemblies
- Rotate duplex rollers manually.
- Listen for grinding or clicking.
- Inspect duplex drive couplings.
- Replace damaged gears or rollers.
Step 6 – Inspect the Paper Feed Assemblies
Paper feed mechanisms contain multiple gears and clutches that can wear over time.
- Remove the paper cassettes.
- Inspect pickup assemblies.
- Check feed gears for cracks or missing teeth.
- Inspect separation roller mechanisms.
- Check cassette lift drives on larger models.
- Inspect registration roller gears.
- Clean all paper dust and toner debris.
- Replace worn feed gears.
Grinding during paper pickup is often caused by slipping or partially stripped feed gears.
Step 7 – Inspect the Transfer Belt Unit (ITB)
The Intermediate Transfer Belt unit can produce grinding noises if its drive mechanism becomes damaged or overloaded.
- Remove the transfer belt unit.
- Inspect the belt surface.
- Rotate the belt drive rollers manually.
- Check for:
- Resistance
- Grinding
- Damaged bearings
- Toner buildup
- Loose drive gears
- Inspect the cleaning blade for abnormal resistance.
- Replace the ITB unit if heavily worn.
Step 8 – Inspect the Finisher (If Installed)
Many loud clicking noises originate from optional finishers rather than the main copier.
- Determine whether the noise comes from the finisher area.
- Inspect finisher drive gears.
- Check stapler drive assemblies.
- Inspect paper exit rollers.
- Check booklet maker mechanisms if equipped.
- Look for broken plastic actuator arms.
- Replace damaged finisher gears or motors.
Step 9 – Inspect the Main Drive Motor
A failing drive motor can create grinding noises internally or overload the drive system.
- Disconnect the machine from power.
- Access the main drive motor.
- Rotate the motor shaft manually.
- Check for:
- Rough bearings
- Excessive resistance
- Grinding sensation
- Shaft wobble
- Reconnect power carefully for operational testing if safe to do so.
- If the motor produces grinding independently, replace the motor.
Summary Diagnostic Table
| Noise Pattern | Most Likely Cause | Recommended Action |
|---|---|---|
| Loud clicking during warm-up | Fuser drive gear damage | Inspect and replace fuser gears |
| Grinding during printing | Main drive gear wear | Inspect drive assembly |
| Clicking once per rotation | Broken gear tooth | Replace damaged gear |
| Noise only during duplex printing | Duplex drive failure | Inspect duplex gears and rollers |
| Grinding during paper pickup | Feed gear slipping | Inspect pickup drive assembly |
| Sudden loud grinding after paper jam | Foreign object or broken gear | Inspect paper path and drive train |
| Grinding from rear of machine | Main drive assembly | Inspect rear drive gears |
| Clicking from finisher area | Finisher gear damage | Inspect finisher mechanism |
| Heavy grinding continuously | Motor or bearing failure | Inspect drive motor |
Preventive Maintenance Tips
- Replace consumable units before exceeding their rated page count.
- Use genuine Konica Minolta parts whenever possible.
- Clean paper dust from feed assemblies regularly.
- Address paper jams carefully to avoid damaging gears.
- Never force jammed paper out aggressively.
- Inspect drive gears during preventive maintenance visits.
- Keep the machine environment clean and dust-free.
- Use recommended paper types and weights.
- Lubricate only approved locations using correct service lubricants.
- Investigate new noises immediately before major damage occurs.
When to Call a Certified Technician
Users may safely perform only the following checks:
- Checking for foreign objects
- Removing visible paper jams
- Cleaning accessible rollers
- Observing when the noise occurs
The following repairs require a qualified Konica Minolta technician:
- Removing the fuser unit
- Disassembling drive assemblies
- Replacing gears or motors
- Accessing internal drive trains
- Replacing duplex drive components
- Servicing the transfer belt unit
- Repairing finisher mechanisms
Important safety warning: Never operate the machine with internal covers removed. Bizhub machines contain high-voltage power supplies, hot fuser components, moving drive assemblies, and laser systems that can cause serious injury.
Conclusion
A loud grinding or clicking noise in a Konica Minolta bizhub machine almost always indicates a mechanical problem that requires attention. In most cases the issue is caused by damaged gears, worn bearings, foreign objects, or failing drive assemblies.
The most common sources are the fuser drive gears, duplex assemblies, paper feed gears, and the main drive train. Careful observation of when the noise occurs is the key to locating the faulty component quickly.
Addressing the issue early can prevent severe secondary damage and significantly reduce repair costs. A bizhub machine that suddenly develops grinding or clicking noises should always be inspected promptly before continuing heavy operation.